

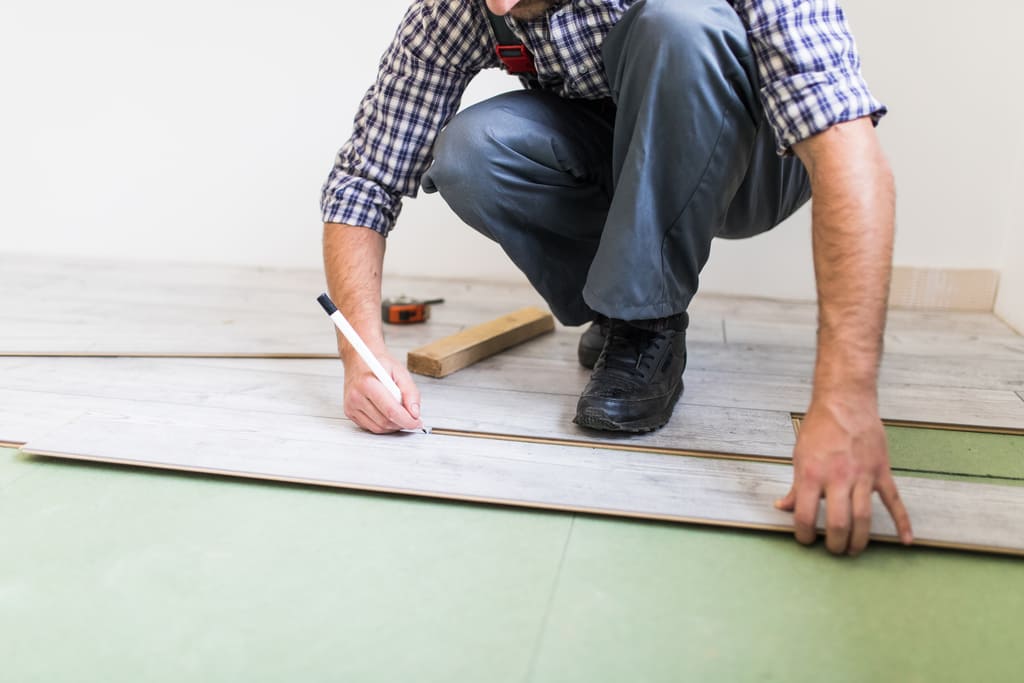
Floating floorboards are very popular due to their easy installation and flawless finish. In this article we will show you how to install floating floorboards on a floor. Fixing options such as adhesive, nails or clips guarantee a perfect fit between the joints and allow the floorboards to be removed without damaging the pieces.
We are Payresa, a company where you can find all kinds of flooring in Málaga. Don't hesitate to visit our floorboards and get in touch with us, we look forward to seeing you!
How to install floating floorboards on a floor
How do you install floating floorboards on a floor? Below, we will leave you the steps needed to complete this task:
Step 1
Before starting, make sure the floor is level, clean and dry. If you find any irregularities you should apply a levelling compound to obtain a perfect surface.
You should also line the floor with strips of polyethylene foam, providing acoustic and thermal insulation that will wrap you in comfort.
Step 2 to learn how to install floating floorboards on a floor
With skill and precision, carefully cut several strips of polyethylene foam, making sure they fit together perfectly and achieving a flawless assembly. At each joint between the foam pieces, we carefully apply strips of adhesive tape to seal them hermetically, thus ensuring acoustic and thermal insulation that will wrap you in a warm and comfortable environment.
Step 3
How do you install floating floorboards on a floor? It's time to start laying the wood slats at one end of the room. To do this, we leave a strategic 15 mm gap around the entire perimeter to allow the floating floorboards to expand naturally. With precision, we use wedges to keep this joint uniform and perfectly balanced at all times.
Step 4
In the first section of installation, we carefully make a 1 cm rebate in the floorboard piece, ensuring that the gap between the door frame and the floor of the adjoining room is more than 15 mm.
Step 5
Once the exact measurements have been taken, we use a jigsaw to precisely cut the floorboard piece. Then, we carefully place it, making sure to maintain the expansion joint to allow the wood to expand naturally and avoid future problems.
Step 6
The process continues with the installation of the second piece. Using a sliding bevel, we make sure the measurements are accurate, mark the cut and carefully carry it out. The click system is a wonderful solution that allows us to join the two floating floorboard pieces without resorting to any type of adhesive.
Step 7 to learn how to install floating floorboards on a floor
Now, we can add the finishing touch by removing the wedges and fitting the skirting boards for a perfect finish; to ensure a flawless fit, we cut their ends at a 45º angle.
Step 8
To complete the installation of the floating floorboards we must fix the skirting boards to the wall. We apply a little mounting adhesive to the back of each skirting board piece. When placed in position, the adhesive ensures a firm and lasting hold. In addition, this technique covers the expansion joint, giving a clean and attractive finish.
Step 9
To finish, we will apply a specific product to protect and preserve the wood of the floorboards. With this final step, we have completed our task with mastery, achieving an exceptional final result.
That's everything about how to install floating floorboards on a floor, we hope it has been helpful! Don't forget you can contact us, we will be delighted to help. If you liked this article, we recommend you keep reading our blog, you can continue with How to repair scratched parquet.
Contact us with no obligation for a personalised quote tailored to your needs or to resolve any other question you may have.