

Table of contents
What is a plasterboard ceiling and when is it recommended to install itBefore you start: things you should considerCommon materials for building a plasterboard ceilingTIPS ON HOW TO FIT A PLASTERBOARD CEILINGHOW TO BUILD A PLASTERBOARD CEILING STEP BY STEP1. Mark the ceiling height2. Fit the perimeter profiles3. Build the suspended frame4. Fit the plasterboard sheets5. Joint treatment6. Final finishCOMMON MISTAKES WHEN BUILDING A PLASTERBOARD CEILINGWHEN IS IT WORTH HIRING PROFESSIONALS?Need to install a plasterboard ceiling in Málaga?Building a plasterboard ceiling may seem like a simple task, but in practice it's one of the installations where we see the most mistakes when done without experience. At Payresa we've spent over 40 years carrying out renovations and installations of plasterboard ceilings in homes and businesses across Málaga, and we know exactly what works, what doesn't and when it's best left to professionals.
In this guide we explain how a plasterboard ceiling is actually built, what you should keep in mind before starting and what mistakes can ruin the final result.
What is a plasterboard ceiling and when is it recommended to install it
A plasterboard ceiling (or suspended ceiling made of plasterboard sheets) is mainly used to:
- Hide electrical, HVAC or telecommunications installations
- Improve thermal and acoustic insulation
- Reduce the visual height of a room
- Achieve a clean, modern finish
It's a very common solution in flats, houses and commercial premises alike, but correct installation is key to avoiding cracks, unevenness or problems as time goes by.
Before you start: things you should consider
Before building a plasterboard ceiling, we always recommend checking:
- Available height of the room
- Type of original ceiling (slab, concrete, joists…)
- Weight it will need to bear (light fixtures, ducting, insulation)
- Moisture level of the space
These factors determine the type of frame and sheets that should be used.
Common materials for building a plasterboard ceiling
These are the most commonly used materials in a professional installation:
- Perimeter and secondary metal profiles
- Threaded rods, hangers and anchors
- Suitable plasterboard sheets (standard, moisture-resistant, fire-resistant…)
- Screws specific to plasterboard
- Joint compound and tape
Having the right materials is just as important as knowing how to fit them.
TIPS ON HOW TO FIT A PLASTERBOARD CEILING
Installing a plasterboard ceiling may seem like a complex task, but with a few key tips it's possible to achieve a professional finish even without much experience. The first thing is to measure the surface carefully and correctly mark the guide lines on the walls and ceiling, since poor levelling can ruin the whole job. Always use a laser or spirit level to ensure precision.
Another key aspect is choosing good quality metal profiles and fixing them correctly with wall plugs suited to the type of original ceiling. Make sure the frame is sturdy before fitting the sheets. When screwing in the plasterboard, don't overtighten to avoid damaging the material.
A very useful tip is to leave small gaps between sheets to make joint treatment easier. Afterwards, apply tape and specific joint compound in several thin coats, sanding gently between them for a perfect finish.
Finally, plan the lighting or cable installation carefully before closing up the ceiling. Having everything prepared will save you time and hassle. With patience and precision, the result will be clean, sturdy and visually flawless.
HOW TO BUILD A PLASTERBOARD CEILING STEP BY STEP
1. Mark the ceiling height
Mark the perimeter of the room at the desired height, taking into account:
- Thickness of the sheets
- Space for installations
- Possible insulation
Correct levelling at this point is essential for a good result.
2. Fit the perimeter profiles
The profiles are fixed to the walls with screws and wall plugs, usually every 40–50 cm. These profiles will be the base of the entire frame.
3. Build the suspended frame
The threaded rods are fitted to the original ceiling and the main and secondary profiles are fitted, forming a stable grid. A poorly calculated frame causes sagging, vibrations and cracks.
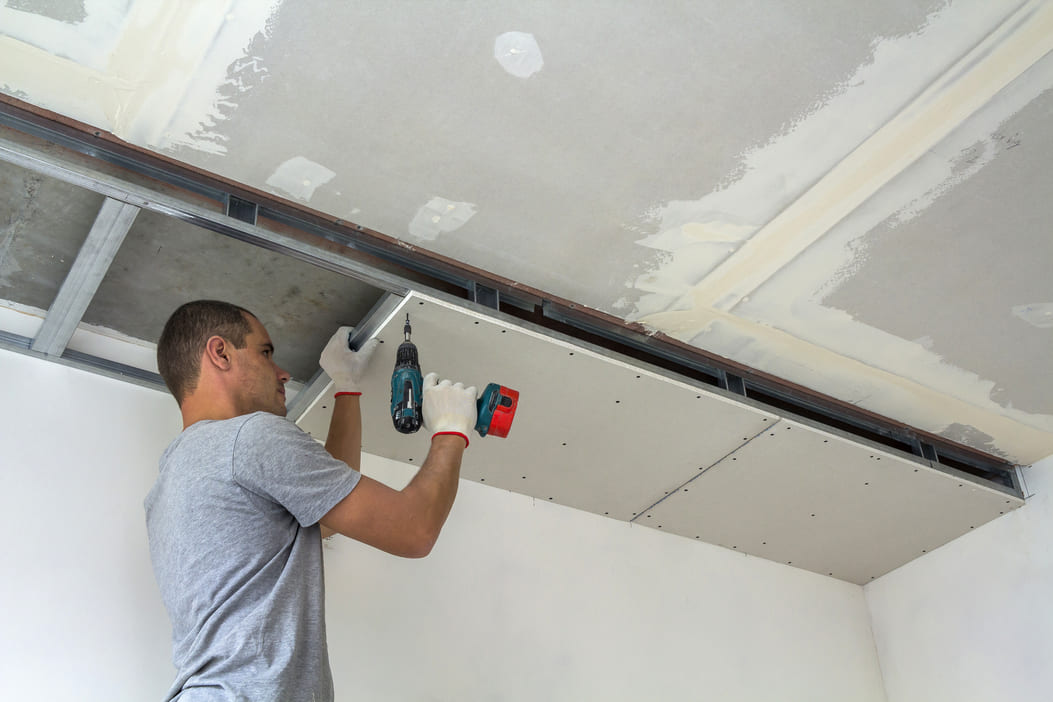
4. Fit the plasterboard sheets
The sheets are screwed to the metal frame, respecting the gaps and avoiding joints lining up. The type of sheet will depend on the use of the room:
- Standard sheet for dry areas
- Moisture-resistant sheet for bathrooms or kitchens
- Fire-resistant sheet for commercial or technical areas
5. Joint treatment
The joints are filled with joint compound and specific tape, applying several coats until reaching a uniform surface. This step is key to preventing the joints from showing over time.
6. Final finish
Once dry, the ceiling can be sanded gently and painted. Mouldings, recessed lighting or decorative systems can also be added.
COMMON MISTAKES WHEN BUILDING A PLASTERBOARD CEILING
In our experience, these are the most common mistakes:
- Not leaving enough space for installations
- Poorly levelled frame
- Incorrectly placed screws
- Using the wrong sheets
- Not respecting expansion joints
These mistakes tend to show up months later and force the work to be redone.
WHEN IS IT WORTH HIRING PROFESSIONALS?
If the ceiling includes recessed lighting, acoustic insulation, large surfaces or requires a flawless finish, professional installation makes the difference in durability and aesthetic result.
Need to install a plasterboard ceiling in Málaga?
If you're considering installing a plasterboard ceiling and want a long-lasting, well-finished result, at Payresa we can advise you and carry out the installation with guarantees.
👉 Talk to our team, no obligation