

Table of contents
Materials needed to install floating floorboards over tileHow to install floating floorboards over tile step by stepPrepare the floorInsulate the floorLay the boardsFit the skirting boardsFinishFind out how to install floating floorboards over tile quickly, hassle-free and without renovation work ✅. 【Easy tricks】.
Flooring is one of the most important aspects of any home, business or office. Swapping an old floor for a new one can completely transform the look of the space… but sometimes we avoid doing it simply to dodge getting into major renovation work.
But here's some good news: there's a range of flooring that needs no prior preparation and can be laid over the old one without having to remove it. This is the case with some materials such as vinyl flooring or linoleum.
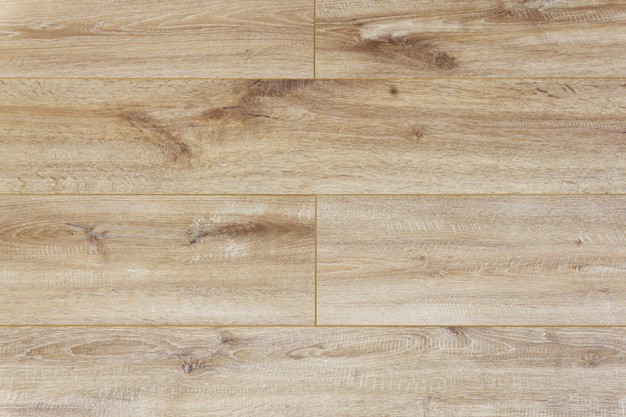
The most popular choice, without a doubt, is laminate (also known as floating). That's why today we explain step by step how to install floating floorboards over tile without any complications. Let's get to work!
Materials needed to install floating floorboards over tile
Grab a pencil and paper to note down everything we're going to need:
- A tape measure.
- A hammer.
- A pry bar for flooring.
- A jigsaw.
- Underlay.
- Adhesive tape.
- Assembly adhesive.
- Skirting boards.
- Floating floorboards.
How to install floating floorboards over tile step by step
Prepare the floor
One of the great advantages of laminate flooring is that, besides over tile, it can be laid over any other type of floor: stone, concrete, ceramic…
It won't need any preparation beyond checking that it's well levelled (if not, we'll need to use levelling compound to even it out), clean and dry.
Insulate the floor
We'll start by covering the floor with a layer of polyethylene foam that will act as insulation, both against moisture and for sound. We'll let it overlap about 10 centimetres up the wall at the edges.
We'll seal the insulating strips to each other using adhesive tape.
Lay the boards
The next step is to directly lay the floating floorboards over the tile. To do this, we'll start by placing the first board. With the help of a wedge, we'll leave a gap of about 15 millimetres from the wall.
It's very important that at all times we respect the expansion joints, as indicated by the flooring's packaging. These gaps can later be covered by transition strips.
Using the jigsaw and taking measurements, we'll trim the boards to the exact length.
If the boards use a click system, we'll only need to join them, with no need for any adhesive.
Otherwise, we'll apply white glue into the groove of the previous board to fit the new one, and tap it with a hammer to secure it (protecting the impact with a wooden block). Any excess glue will be wiped off immediately with a cloth.
We must install it in rows. Once we finish one, we'll move on to the next until the whole space is covered. It's important to pay attention so that the joints of two adjacent rows don't line up.
Fit the skirting boards
Once we've installed all the boards, we'll need to fit the skirting boards. To do this we'll remove the wedges we had previously placed against the wall to mark the gap.
On the back of the skirting board, we'll apply assembly adhesive and fit it in place.
Finish
And we've reached the last step to finish installing our floating floorboards over tile. We'll need to clean up to remove any leftover dust and debris, and apply a specific product for its upkeep directly.
Now that you know how to install floating floorboards over tile and have discovered how simple it is, why not give it a try? If you're looking for a floating floorboards company in Málaga offering boards that are affordable, stylish, hard-wearing and easy to install… at Payresa you'll find what you're looking for! Check out our website and ask us for a no-obligation quote.