

Table of contents
Materials we will need to put a vinyl on the wallHow to put a vinyl on the wall step by step① Unroll the vinyl② Prepare the vinyl③ Prepare the surface④ Place the vinyl⑤ Start sticking the vinyl⑥ Finish sticking the vinyl⑦ Remove the transfer paperWant to know how to put a vinyl on the wall so it looks perfect? ✅ We'll walk you through it step by step! ✅.
Vinyls offer us an infinite range of possibilities. On the market there are everything from decorative vinyls to wall coverings that can be aimed at our homes, but also at hotel, school or healthcare sectors.
Besides the ease of cleaning and maintenance they offer us, their installation is quick and simple. But, of course, you need to know how to do it correctly so that no flaws are left and to ensure it lasts.
That's why today we explain how to put a vinyl on the wall. Before you rush to install it, read the full article!
Materials we will need to put a vinyl on the wall
Before we get to work, let's review what we're going to need:
- Vinyl.
- Application spatula (usually comes with the vinyl itself, but you can also find it at any hardware store or specialty shop).
- Scissors.
- Masking tape.
How to put a vinyl on the wall step by step
① Unroll the vinyl
It's best, as soon as you receive it, to unroll it on a flat, smooth surface, large enough for it to fit completely. If you're going to do it on the floor, make sure beforehand that there's no dirt or debris that could damage it.
② Prepare the vinyl
In general, although it will depend on the characteristics of your vinyl, as soon as you unroll the product you'll find three parts:
- The vinyl: It will be in the center and protected by two layers.
- Transfer paper: The one the vinyl is stuck to, which will help us place it on the wall.
- Vinyl protector: A thicker paper that will prevent damage.
With the help of the spatula, smooth the entire surface so it stays well stuck to the transfer paper with no wrinkles left.
③ Prepare the surface
When putting a vinyl on the wall, make sure it has no dust specks that could hinder the installation. That said, be careful: don't wet or dampen it. This could ruin the placement.
④ Place the vinyl
If your vinyl roll has several images you want to stick separately, cut them out and repeat this process with each one.
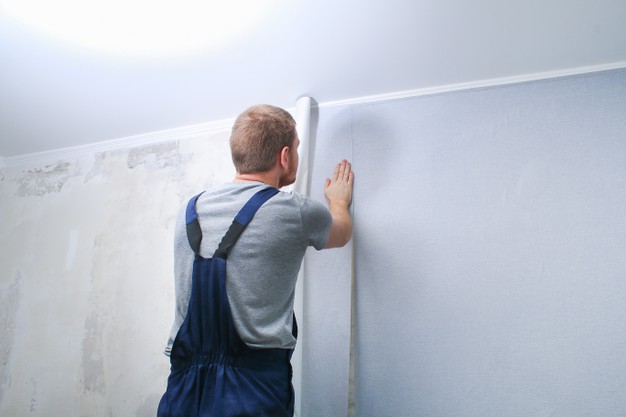
Place the vinyl on the wall, at the height and in the spot you want. Make sure it's the protective paper (not the transfer paper) that is in direct contact with the wall.
Once you've found the right spot, fix it to the wall with masking tape, roughly at the halfway point.
⑤ Start sticking the vinyl
Now we're ready to start sticking it. How will we do it?
Start at the top. Fold it slightly, pulling it away from the wall and, very carefully, peel off part of the protective paper and trim it. With the help of the spatula, stick that top section of the vinyl to the wall.
⑥ Finish sticking the vinyl
Once we have the top section stuck to the wall, we'll remove the masking tape. We'll now move on to the rest of our vinyl that still has the protective paper on.
We'll gradually peel off this remaining protective paper, from top to bottom, and as we go, we'll smooth it out with the spatula to fix our vinyl to the wall until it's completely done.
⑦ Remove the transfer paper
Once we've smoothed out the entire vinyl, all that's left is to remove the transfer paper. To do this we'll start from a corner. We'll do it carefully, little by little and very close to the wall to prevent the vinyl from coming loose.
And that's it! Now that you know how to put a vinyl on the wall… why not get started decorating? If you want to discover a whole world of vinyl possibilities for your home or business, get in touch with us as experts in parquet in Málaga!